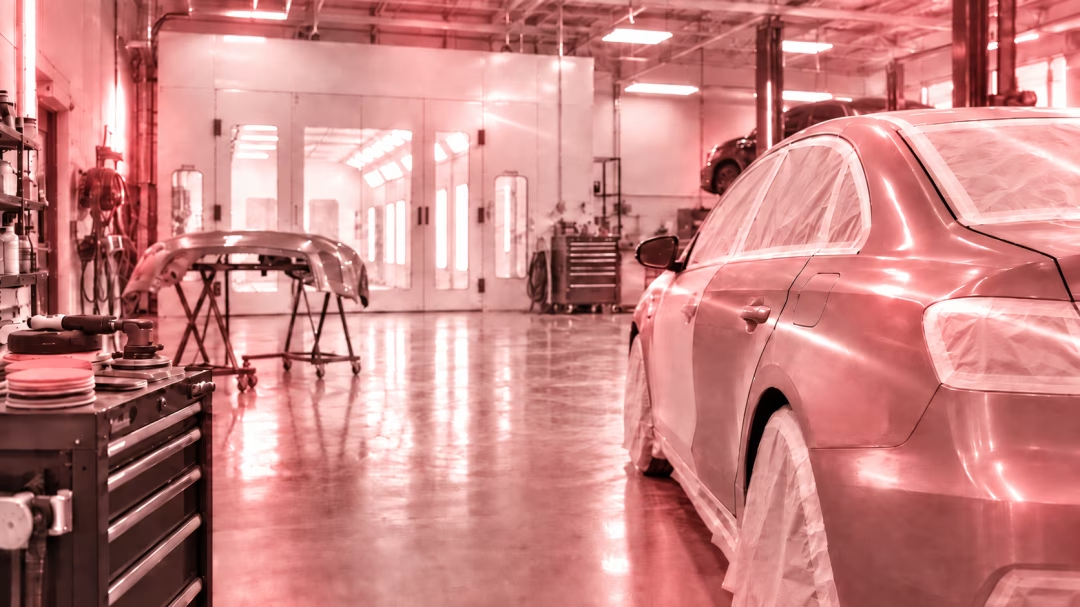
A flawless paint job is more than just a new coat of color; it is the result of meticulous preparation that happens long before any paint is sprayed. When a vehicle has surface imperfections like scratches and rock chips, simply painting over them will only magnify the flaws and lead to a poor-quality, short-lived finish. The key to a durable, factory-fresh appearance lies in the expert repair of this underlying damage. Technicians must carefully assess the depth of each scratch and chip to determine the correct repair method. This crucial preparation stage involves a multi-step process of cleaning, sanding, filling, and priming the affected area. This ensures the new paint has a perfectly smooth and stable foundation to adhere to, guaranteeing a seamless blend and protecting the vehicle’s body from future corrosion or paint failure. This attention to detail is what separates a professional repair from a simple touch-up.
Understanding the professional process for repairing scratches and chips provides valuable insight into the quality and longevity of a vehicle's finish. From minor clear coat scuffs to deep gouges that reach the bare metal, each type of damage requires a specific, skilled approach. This commitment to proper surface preparation ensures that the final paintwork not only looks immaculate but also stands up to the elements for years to come. It is a testament to the craftsmanship that goes into every high-quality pre-owned vehicle we offer in our inventory.
The Comprehensive Guide to Pre-Paint Surface Repair
Achieving a perfect paint finish is a science and an art form, with the vast majority of the work dedicated to what lies beneath. The process of repairing scratches and chips is a foundational element of any quality repaint, whether it is for a single panel or an entire vehicle. This detailed process ensures the final product is not only visually stunning but also durable and protective. Let’s explore the essential steps that auto body professionals take to transform a damaged surface into a pristine canvas ready for paint.
Step 1: Thorough Cleaning and Damage Assessment
The repair process begins not with sanding, but with a deep cleaning. The technician must remove all dirt, wax, grease, and road grime from the damaged area and its surroundings. Using specialized degreasers and surface prep solvents, they create a contaminant-free workspace. Any residue left on the surface could interfere with the adhesion of fillers, primers, and paint, leading to premature failure.
Once the area is surgically clean, a detailed assessment of the damage is performed. The technician carefully examines each scratch and chip to determine its depth:
- Clear Coat Scratches: These are the most superficial marks, residing only in the top protective layer. They often look like fine, white lines and may disappear when wet.
- Base Coat Scratches: These have penetrated the clear coat and damaged the color layer beneath. The color of the scratch will be a duller shade of the vehicle's paint.
- Primer Scratches: A deeper scratch that has gone through both the clear and color coats will expose the primer layer, which is typically a gray, white, or black color.
- Scratches to Metal: The most severe damage, where the scratch has penetrated all layers of paint and exposed the bare metal of the body panel. These require immediate attention to prevent rust.
This assessment dictates the entire repair strategy. While a light clear coat scratch might be fixed with polishing, anything deeper requires a more invasive, multi-step repair before any repainting can occur.
Step 2: Sanding and Feathering the Damaged Area
For any scratch that has broken through the clear coat, the next step is sanding. The goal is not just to smooth the scratch itself but to create a gradual, tapered transition from the damaged area to the surrounding, undamaged paint. This technique is known as "feathering" or "feather-edging."
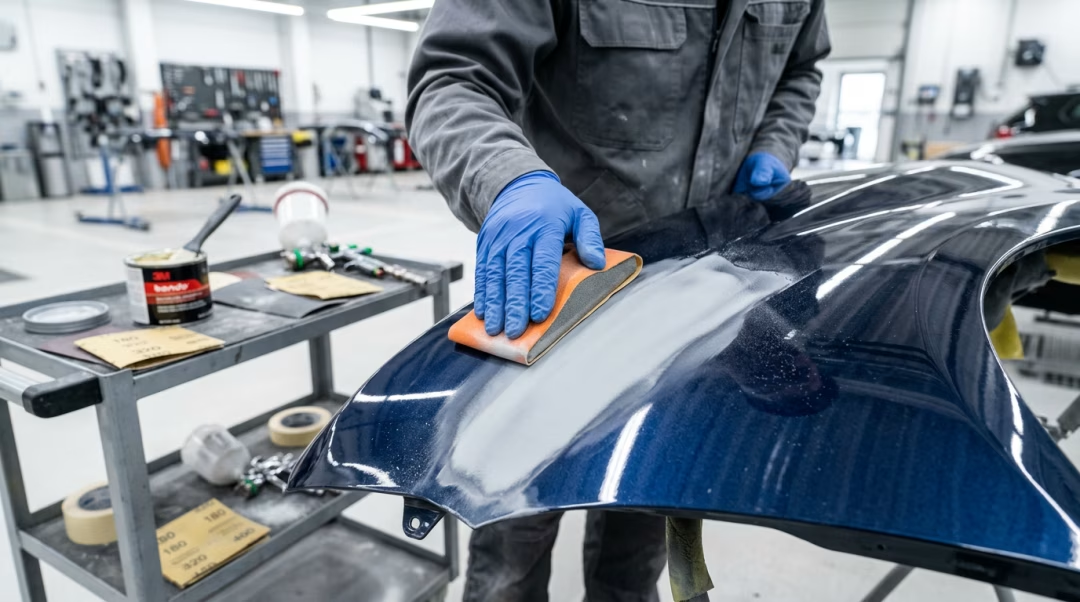
Using a progression of sandpaper grits, from coarser to finer, the technician carefully sands the scratch and the immediate area around it. This process removes any loose paint flakes and creates a "v" shape in the paint layers, eliminating hard edges. A smooth, feathered edge is critical for ensuring the subsequent layers of filler and primer blend in seamlessly, preventing the outline of the original repair from being visible in the final paint job. For more information on blending, you can read about what blending is and why painters use it.
Step 3: Applying Body Filler (If Necessary)
If a scratch or chip is deep enough to create a noticeable indentation in the panel, a thin layer of body filler may be required. This is especially true for deep gouges or areas where metal is exposed. It is important to distinguish this from the thick filler used for major dent repair; for scratches, a very fine-finishing glaze or putty is used.
The technician mixes a two-part polyester filler and applies it thinly and evenly over the sanded, damaged area with a plastic spreader. The filler is forced into the scratch to ensure there are no air pockets. The goal is to build the damaged area up so it is slightly higher than the surrounding surface. After the filler cures (hardens), it is carefully sanded down using a sanding block to ensure a flat, level surface. The technician again uses a progression of sandpaper grits to shape the filler until it is perfectly flush with the contours of the body panel, leaving an imperceptible transition.
Step 4: Primer Application for Adhesion and Protection
Once the surface is perfectly smooth and level, the next critical step is applying primer. Primer serves several vital functions in the repair process:
- Adhesion: It acts as a bonding agent between the repaired surface (body filler or bare metal) and the new base coat of paint.
- Corrosion Resistance: If bare metal was exposed, an epoxy or self-etching primer is used first to seal the metal and prevent rust from forming underneath the paint.
- Filling Imperfections: A high-build or filler primer is often used to fill in any tiny, microscopic scratches left over from the sanding process, creating a perfectly uniform surface.
Several light coats of primer are applied over the entire repaired area, extending slightly beyond the edges of the filler and sanded paint. After the primer has fully cured, it undergoes a final sanding stage, often with a very fine-grit wet sandpaper. This "blocking" process ensures the primed surface is flawlessly smooth and ready for the base coat and clear coat application.
Step 5: Final Preparation for Paint
With the damage repaired and the surface primed, the vehicle is almost ready for the paint booth. The final preparation steps involve masking and cleaning. The technician will meticulously use masking tape, plastic sheeting, and paper to cover every part of the vehicle that will not be painted, including windows, tires, trim, and adjacent panels. This prevents overspray from landing on unintended surfaces.
Finally, the panel to be painted is cleaned one last time with a tack cloth and a wax and grease remover. This removes any dust from sanding and oils from fingerprints, ensuring the new paint has the cleanest possible surface to adhere to. Only after these exhaustive and precise steps are completed can the process of color matching and repainting begin, ensuring a result that is both beautiful and built to last.
Can all scratches simply be buffed out?
No, only the most superficial scratches that are confined to the clear coat layer can be removed through buffing and polishing. If your fingernail catches on the scratch, it is typically too deep to be buffed out and will require the more intensive sanding, filling, and priming process before it can be repainted for a proper, lasting repair.
What is the main difference between a chip and a scratch repair?
A scratch is a linear abrasion, while a chip is typically a small, crater-like piece of missing paint, often caused by a rock or debris. The repair process is very similar, but chips often go directly to the metal or primer. The key for a chip is to carefully clean it and build up layers of primer and paint within the crater to make it level with the surrounding surface before final blending and finishing.
Why is a professional repair better than using a DIY touch-up paint pen?
A touch-up pen is a temporary cosmetic fix that simply covers the damage. It does not properly seal the area from moisture, nor does it level the surface. A professional repair rebuilds the damaged layers from the metal up, feathering the edges, priming for adhesion and corrosion protection, and applying paint for a seamless, durable finish that is indistinguishable from the factory paint job.
How does body filler hold up over time on a scratch repair?
Modern, high-quality automotive body fillers and finishing putties are designed to be extremely durable. When applied correctly over a properly prepared and sanded surface, they chemically bond with the metal and primer. They are flexible enough to expand and contract with the metal through temperature changes and will not crack, shrink, or bubble over time, ensuring the repair remains invisible for the life of the vehicle.
Is primer always necessary before repainting a scratch?
Yes, if the scratch has penetrated through the color coat, primer is absolutely essential. It is the only way to ensure the new paint will adhere properly to the underlying surface (be it old paint, filler, or bare metal). Skipping the primer step will almost certainly lead to the new paint peeling, flaking, or blistering off in a very short amount of time.
