Getting your vehicle back after body repair is a great feeling. The dents are gone, the scratches have vanished, and it looks almost new again. However, the work to preserve that pristine finish is just beginning. The first few months after a repair are a critical period for your vehicle's new paint and bodywork. Proper maintenance during this time ensures the paint cures correctly, the finish remains durable, and the value of your investment is protected for years to come. Failing to follow specific aftercare steps can lead to premature fading, peeling, or other imperfections that undermine the quality of the repair. Understanding how to care for your car now will prevent future headaches and expenses, keeping your vehicle looking its best. Taking a few simple precautions can make all the difference in the longevity and appearance of the professional work you have just had completed. We want you to enjoy that fresh-from-the-shop look for as long as possible.
By dedicating a small amount of effort to post-repair maintenance, you are actively safeguarding the structural and cosmetic integrity of your vehicle. Consistent, gentle care prevents environmental contaminants from damaging the fresh clear coat and ensures that newly fitted panels remain perfectly aligned. Think of it as the final, crucial step of the repair process, one that you control. This ongoing attention helps guarantee that the repair not only looks great today but continues to perform and protect your vehicle down the road.
Your Comprehensive Guide to Post-Repair Vehicle Care
Bringing your car home from the body shop is just the first step. To truly maximize the life and look of your recent repair, you need a solid maintenance plan. The materials used in modern auto body repair, especially paints and clear coats, require a specific period to fully harden and bond with the vehicle's surface. This process, known as curing, is essential for durability. This guide will walk you through everything you need to know, from the crucial first 90 days to long-term strategies for protecting your vehicle's finish and overall condition.
The First 90 Days: The Critical Curing Period
While new paint may feel dry to the touch just hours after it is applied, it is far from fully cured. The curing process involves solvents slowly evaporating from the paint layers, allowing them to shrink, harden, and form a resilient, protective shell. This can take anywhere from 30 to 90 days, depending on the paint system used and environmental conditions like temperature and humidity. During this time, the paint is soft and vulnerable. Anything that could trap these escaping solvents or physically harm the delicate surface must be avoided. Following these guidelines is the single most important thing you can do to ensure a lasting, beautiful repair.
Here is a simple list of do's and don'ts for the initial curing phase:
- DO wait a few days before the first wash. When you do, wash the vehicle by hand in a shaded area.
- DO use a mild, pH-neutral car soap and a soft microfiber or sheepskin wash mitt.
- DO remove contaminants like bird droppings, tree sap, or bug splatters immediately with water and a soft cloth, as their acidity can etch the fresh paint.
- DO NOT take your vehicle through an automatic car wash. The harsh brushes and strong chemicals can scratch and damage the uncured paint.
- DO NOT apply any wax, sealant, or polish. These products seal the surface, trapping solvents and preventing the paint from curing properly. For more details, see our guide on how long to wait before waxing a new paint job.
- DO NOT use a high-pressure washer on the repaired areas.
- DO NOT park under trees that drip sap or where birds congregate. If possible, keep the vehicle garaged.
- DO NOT cover the vehicle with a fabric car cover, as it can trap moisture and cause blemishes on the finish.
Long-Term Washing and Protective Care
Once you have successfully navigated the 90-day curing period, you can transition to a more standard maintenance routine. However, continuing with gentle washing practices will preserve the quality of the repair for years. Adopting the two-bucket wash method is highly recommended. Use one bucket for your soapy water solution and a second bucket with plain water for rinsing your wash mitt. This prevents dirt and grit from being reapplied to the car, which is a primary cause of swirl marks and fine scratches. Always wash from the top down, saving the dirtiest parts of the vehicle, like the lower panels and wheels, for last.
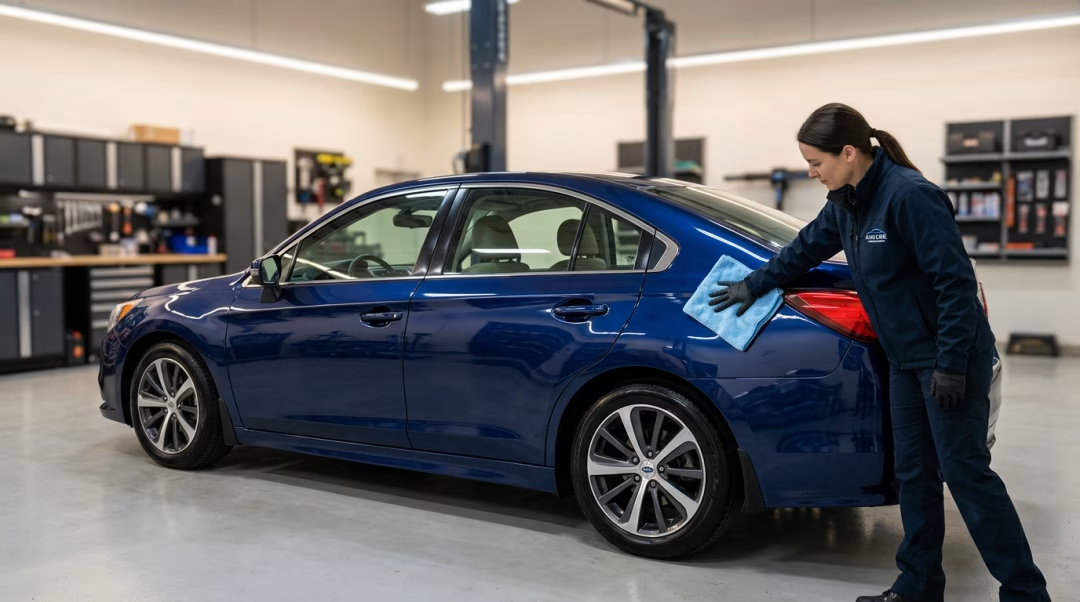
Drying your vehicle properly is just as important as washing it correctly. Never let it air dry in the sun, as this can lead to water spots, which are mineral deposits that can etch into your clear coat. Use high-quality, clean microfiber drying towels and gently pat or blot the surface dry. An electric leaf blower or a dedicated car dryer is an excellent touch-free option to remove water from crevices and emblems.
After the curing period is complete, it is time to add a layer of protection. A quality carnauba wax or a modern paint sealant will provide a barrier against UV rays, rain, and road grime. For the ultimate in long-lasting protection, consider a professional-grade ceramic coating. This adds a sacrificial, hardened glass layer over your paint, offering superior scratch resistance and hydrophobic properties that make cleaning much easier. This protection is key to maintaining your vehicle's resale value.
Beyond Cosmetics: Mechanical and Structural Awareness
Significant body repair often involves more than just cosmetic fixes. The forces involved in a collision can affect your vehicle's frame, suspension, and safety systems. While a quality repair shop performs extensive checks, it is wise to remain vigilant after you get your car back. Pay close attention to how your vehicle drives. Does the steering wheel pull to one side? Do you hear any new or unusual noises when going over bumps or turning? These could be signs of alignment issues that need to be addressed.
Periodically perform a visual inspection of the repaired areas. Check that the gaps between panels, such as the hood and fenders or the doors and quarter panels, remain even and consistent. Any changes could indicate a problem that needs professional attention. It is also a good practice to schedule a formal post-repair inspection with a trusted mechanic or the repair facility after a few hundred miles of driving. They can put the car on a lift and ensure all components are secure and performing as they should, giving you complete peace of mind.
Frequently Asked Questions About Post-Repair Care
How soon can I wash my car after body repair?
You should wait at least 3 to 4 days before the very first wash. It must be a gentle hand wash using a pH-neutral soap and a soft microfiber mitt. Avoid commercial car washes with brushes for at least 30 days, and do not use a pressure washer on the repaired area for at least 90 days while the paint fully cures.
Why can't I wax my new paint job right away?
Applying wax, sealant, or polish to a freshly painted vehicle creates an airtight barrier on the surface. This traps the solvents that need to evaporate from the paint as it cures. This can lead to a soft, improperly hardened finish that is susceptible to damage, clouding, and premature failure. You should wait at least 90 days before applying any protective coatings.
What should I do if a bird dropping lands on my new paint?
You must remove it immediately. Bird droppings are highly acidic and can quickly etch into a soft, uncured paint finish. Do not scrub it off. Instead, soak a soft microfiber cloth in water and let it sit on the spot for a few minutes to soften it. Then, gently lift it away. You can also use a quick detailer spray for added lubrication.
Will the repaired area rust more easily?
A professional, high-quality repair should not rust any more easily than the original factory panels. Technicians use primers, sealers, and corrosion-resistant coatings to protect the bare metal. However, diligent aftercare, like keeping the car clean and waxing it regularly after it has cured, adds another layer of protection against moisture and road salt that cause panels to rust after minor damage.
Is it normal to see slight differences in the paint texture?
In some cases, a very slight difference in texture, often called "orange peel," may be visible when comparing a repainted panel to a factory one. A quality painter's goal is to minimize this and match the factory texture as closely as possible. If you notice significant texture differences, excessive dust nibs, or other flaws, you should discuss it with the repair facility. Learning how to spot quality paint work can help you feel confident in the repair.
